Deploying a production ready Kubernetes Node+React platform in under 15 minutes


Bedrock Core is an Open Source template that includes micro services, components and patterns that tie together Kubernetes, Elasticsearch, MongoDB, Node.js and React.
Bedrock Core was developed by me and several software developer friends over the past years in response to the fragmented application development landscape. It started out as a template to keep our own sanity, but over time we’ve improved on this with every production deployment.
I think APIs, data and infrastructure automation are corner stones of any modern application. The components inside Bedrock Core all work together and have been meticulously chosen to reduce the friction of developing production-grade platforms.
In this article I’ll show you how easy it is to create your own stack that includes full cloud ownership, DevOps automation, SysOps playbooks, JSON APIs, an API Portal, User Management and much more.
Generating Your Code Base
To get started, run this in your Terminal to create a new project:
curl -s https://install.bedrock.io | bashThis script will prompt for your project name and intended domain:
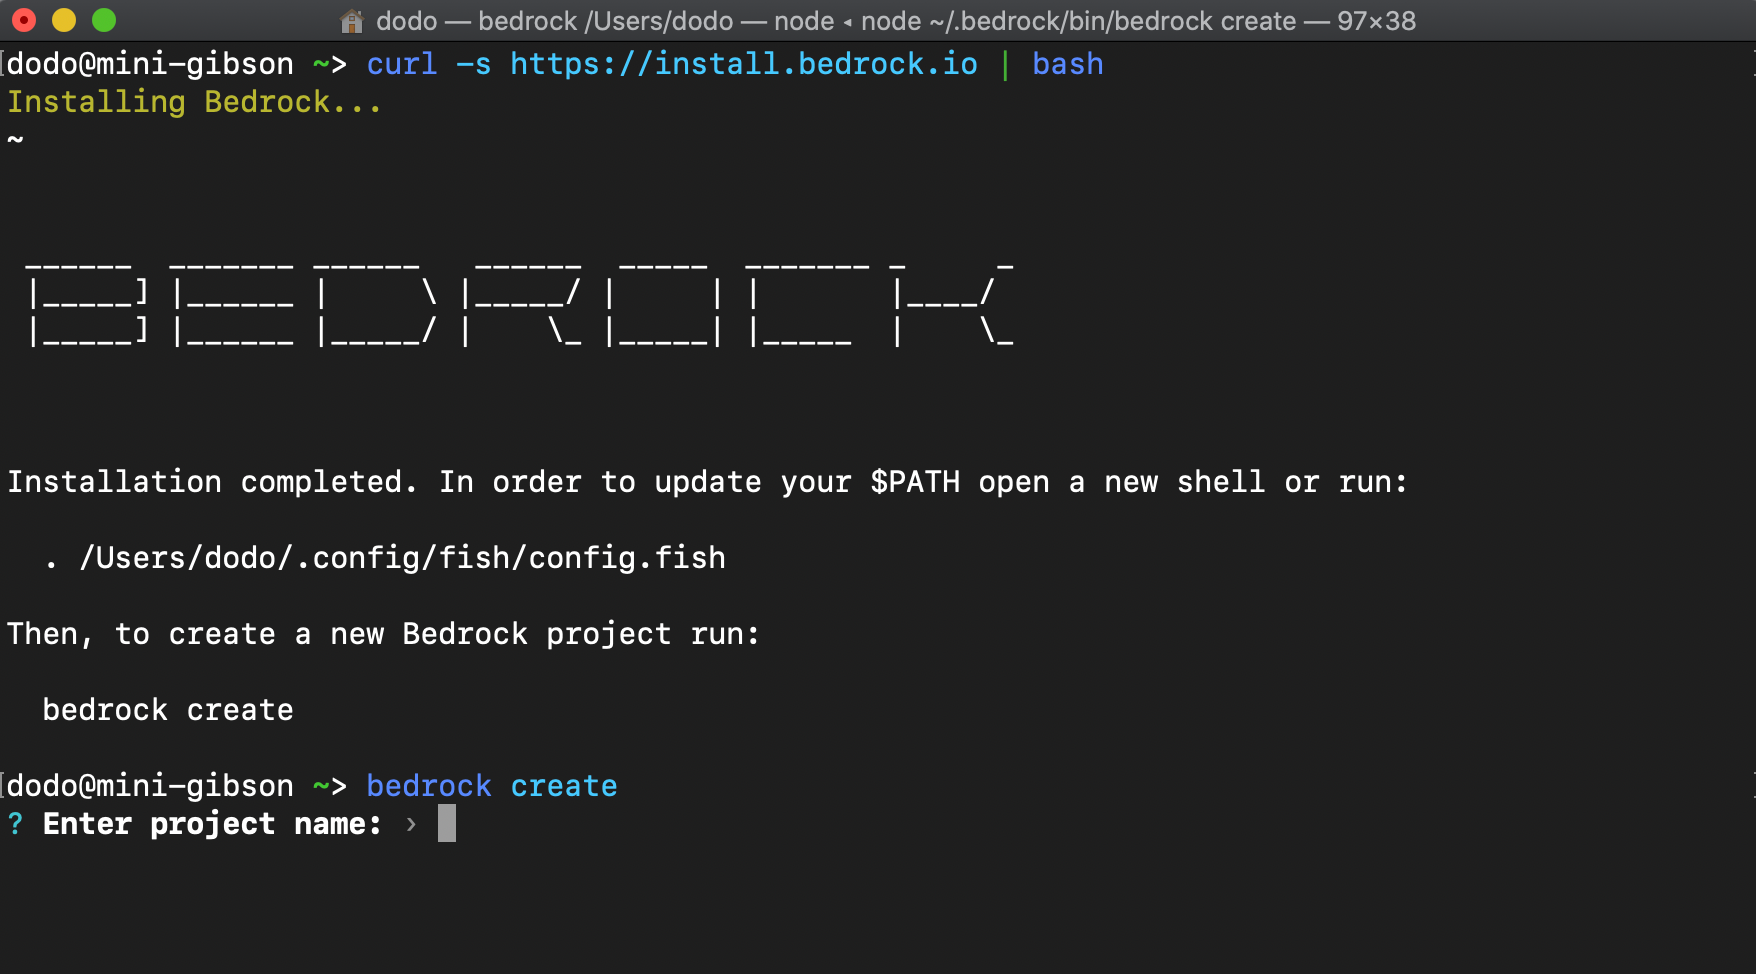
You can let this script push to an empty Github repository or you can manually push it after the fact.
Your Mono Repo
You'll now have a mono repository that holds your entire platform:
deployment/- Kubernetes & Terraform deployment automation and playbooks. This includes a full features backup system and data store deployment (Mongo, Elasticsearch, Data pipeline) for your platform.services/api- A Node.js API, enabled with authentication middleware, OpenAPI, Mongoose ORM and other best practices.services/web- A React Single Page App (SPA) that can interact with that API. Includes React Router, authentication screens, placeholder, API portal, dashboard and a repository of components and helper functions.- Documentation for all aspects of your new platform (Github markdown)
- CI system
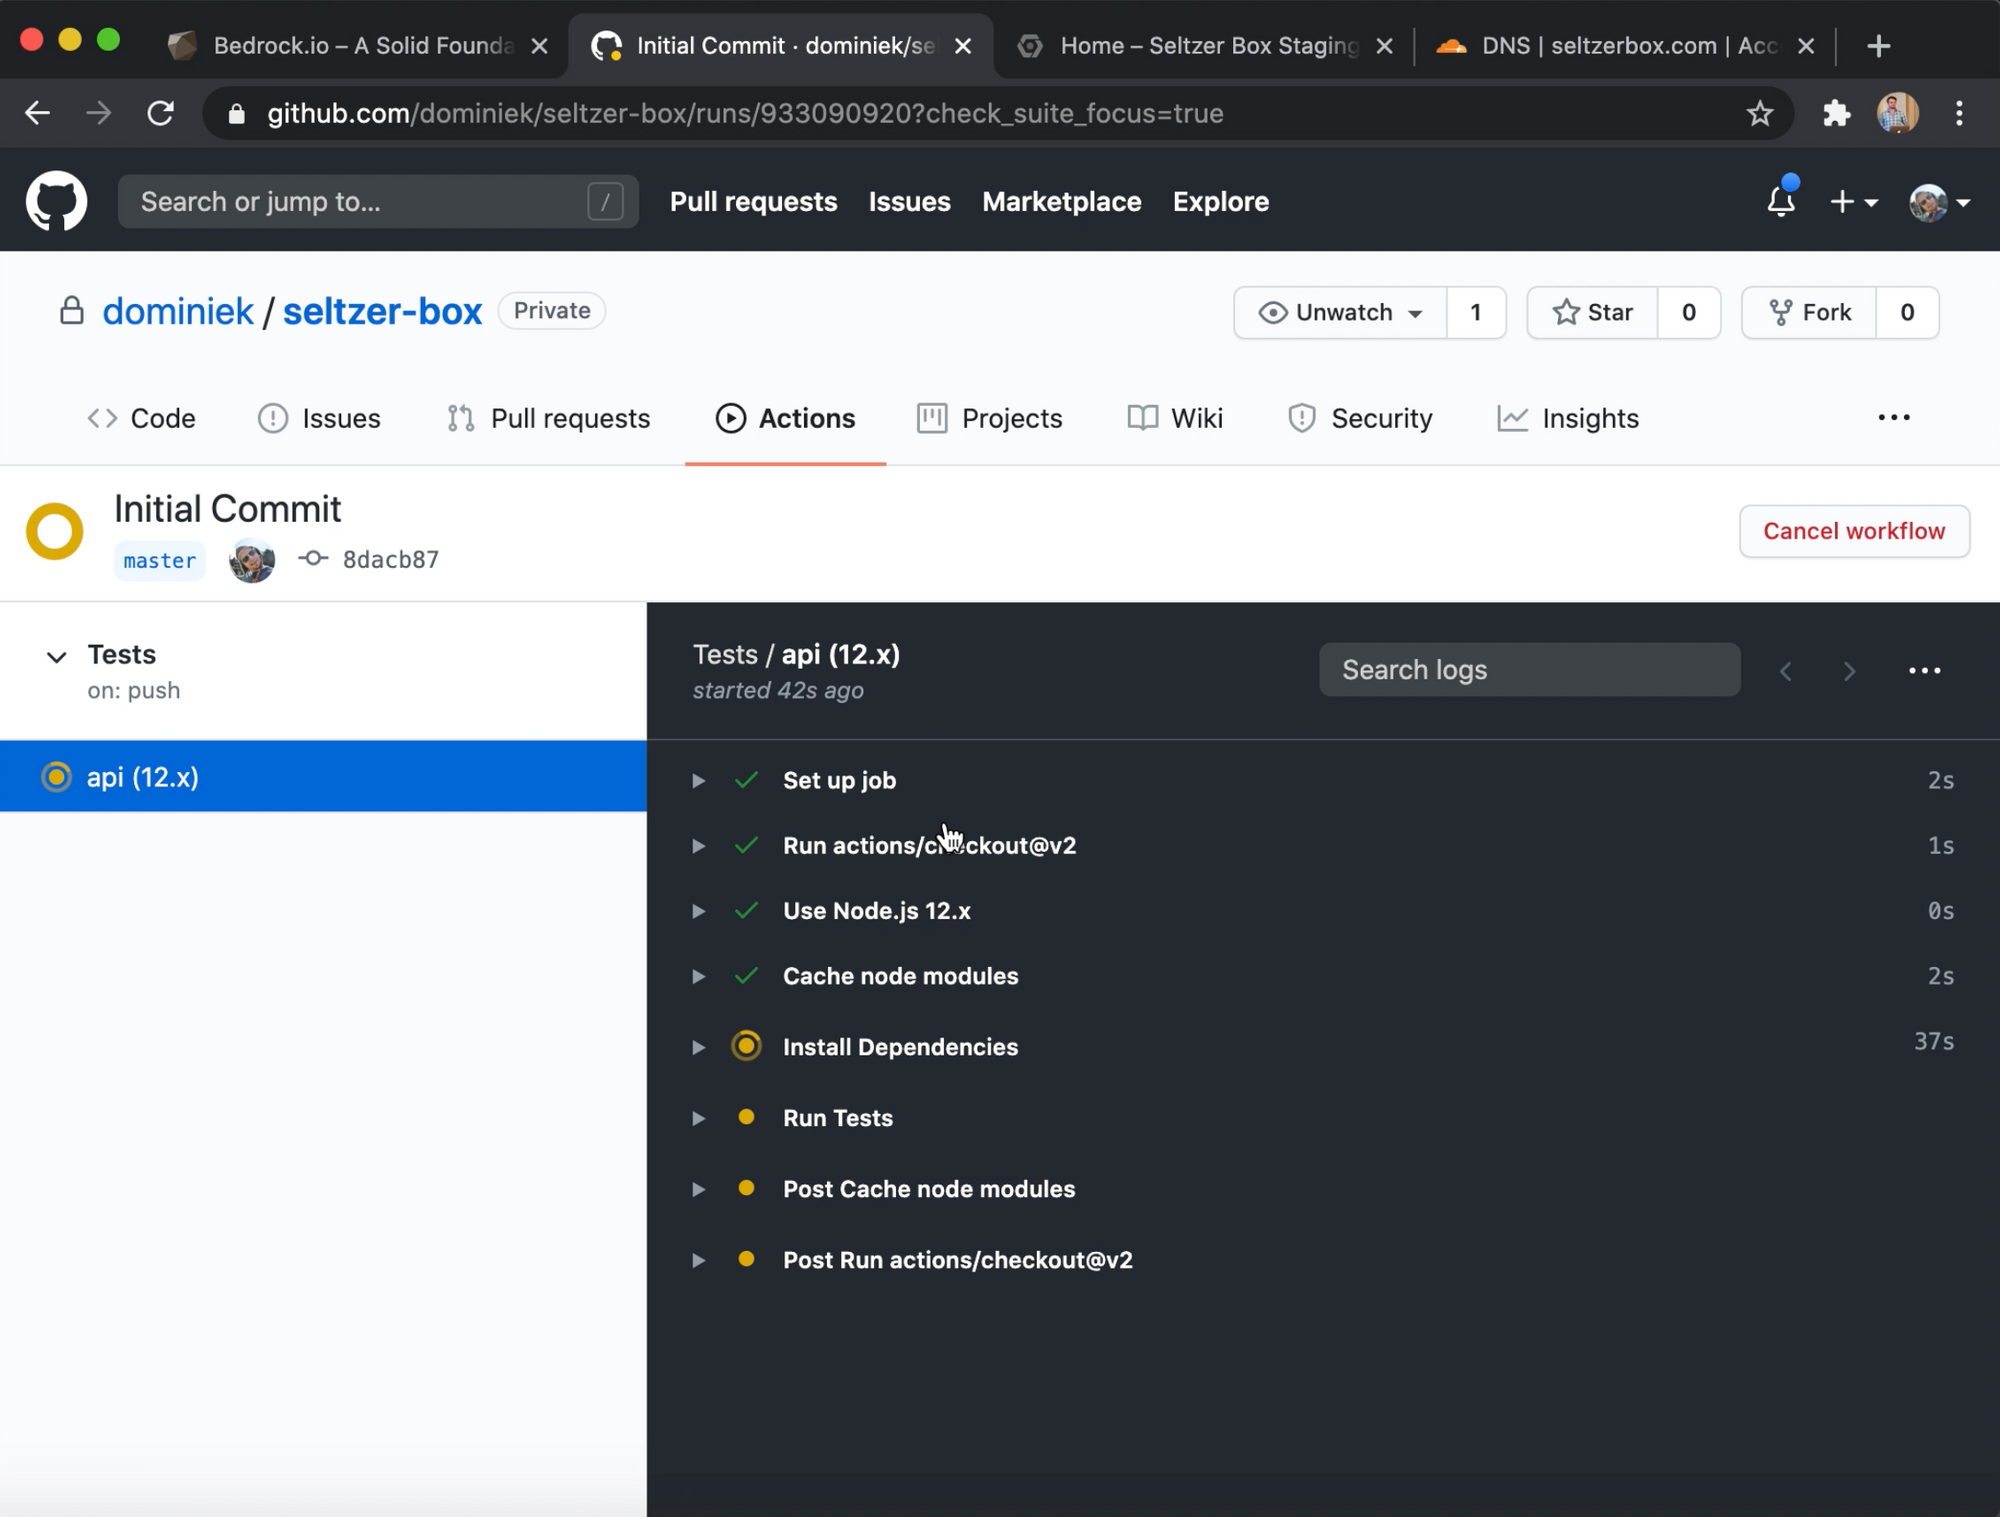
You can explore what this looks like simply by browsing the Bedrock Core repository: https://github.com/bedrockio/bedrock-core
Your First Deploy
With a single script Bedrock Core can provision your infrastructure. All you need to do is create an empty Google Cloud project with a valid billing account. I recommend creating a new Google Cloud project for every environment (staging, production) - for security, separation and billing reasons.
bedrock cloud bootstrap staging my-project-nameAll of this and much more is all described in the deployments/README.md documentation.
This script may prompt you to install G-Cloud CLI and Terraform if you haven't yet. The process can take up to a couple of minutes and will do the following:
- Enable the right services (e.g. Compute, Container) inside Google Cloud
- Reserve IP addresses and auto-set these in the Kubernetes config files
- Use Terraform to provision GCS Buckets, Disks and Kubernetes Cluster nodes
- Use Docker to build and deploy all
services/
Once completed, the script will show you the domains it's expecting:
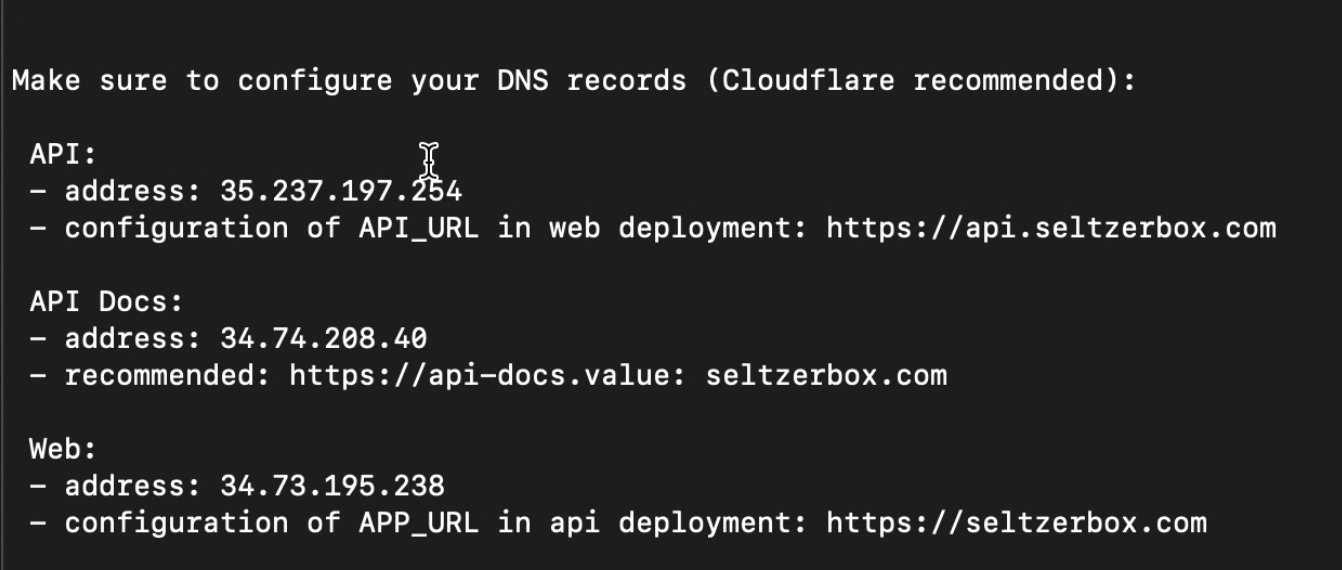
These can be changed at any time by modifying the Kubernetes configuration (e.g. deployment/environments/staging/services/api-deployment.yml) - More about this can be found in the SysOps playbooks.


Congratulations, your new platform is ready!
Running Locally
So let's make some changes to our platform to get familiar with our codebase. In order to run the entire stack simply run Docker Compose your root:
docker-compose upThis will run MongoDB, the services/api and the services/web services. You can now access your app at http://localhost:2200.
Note: You can also run your stack "naked" (without Docker) by executing yarn start in each service (requires MongoDB to be running locally).
Running the API will automatically create the needed database objects for you including the configured ADMIN_EMAIL and ADMIN_PASSWORD user. These will be displayed in the API console output.
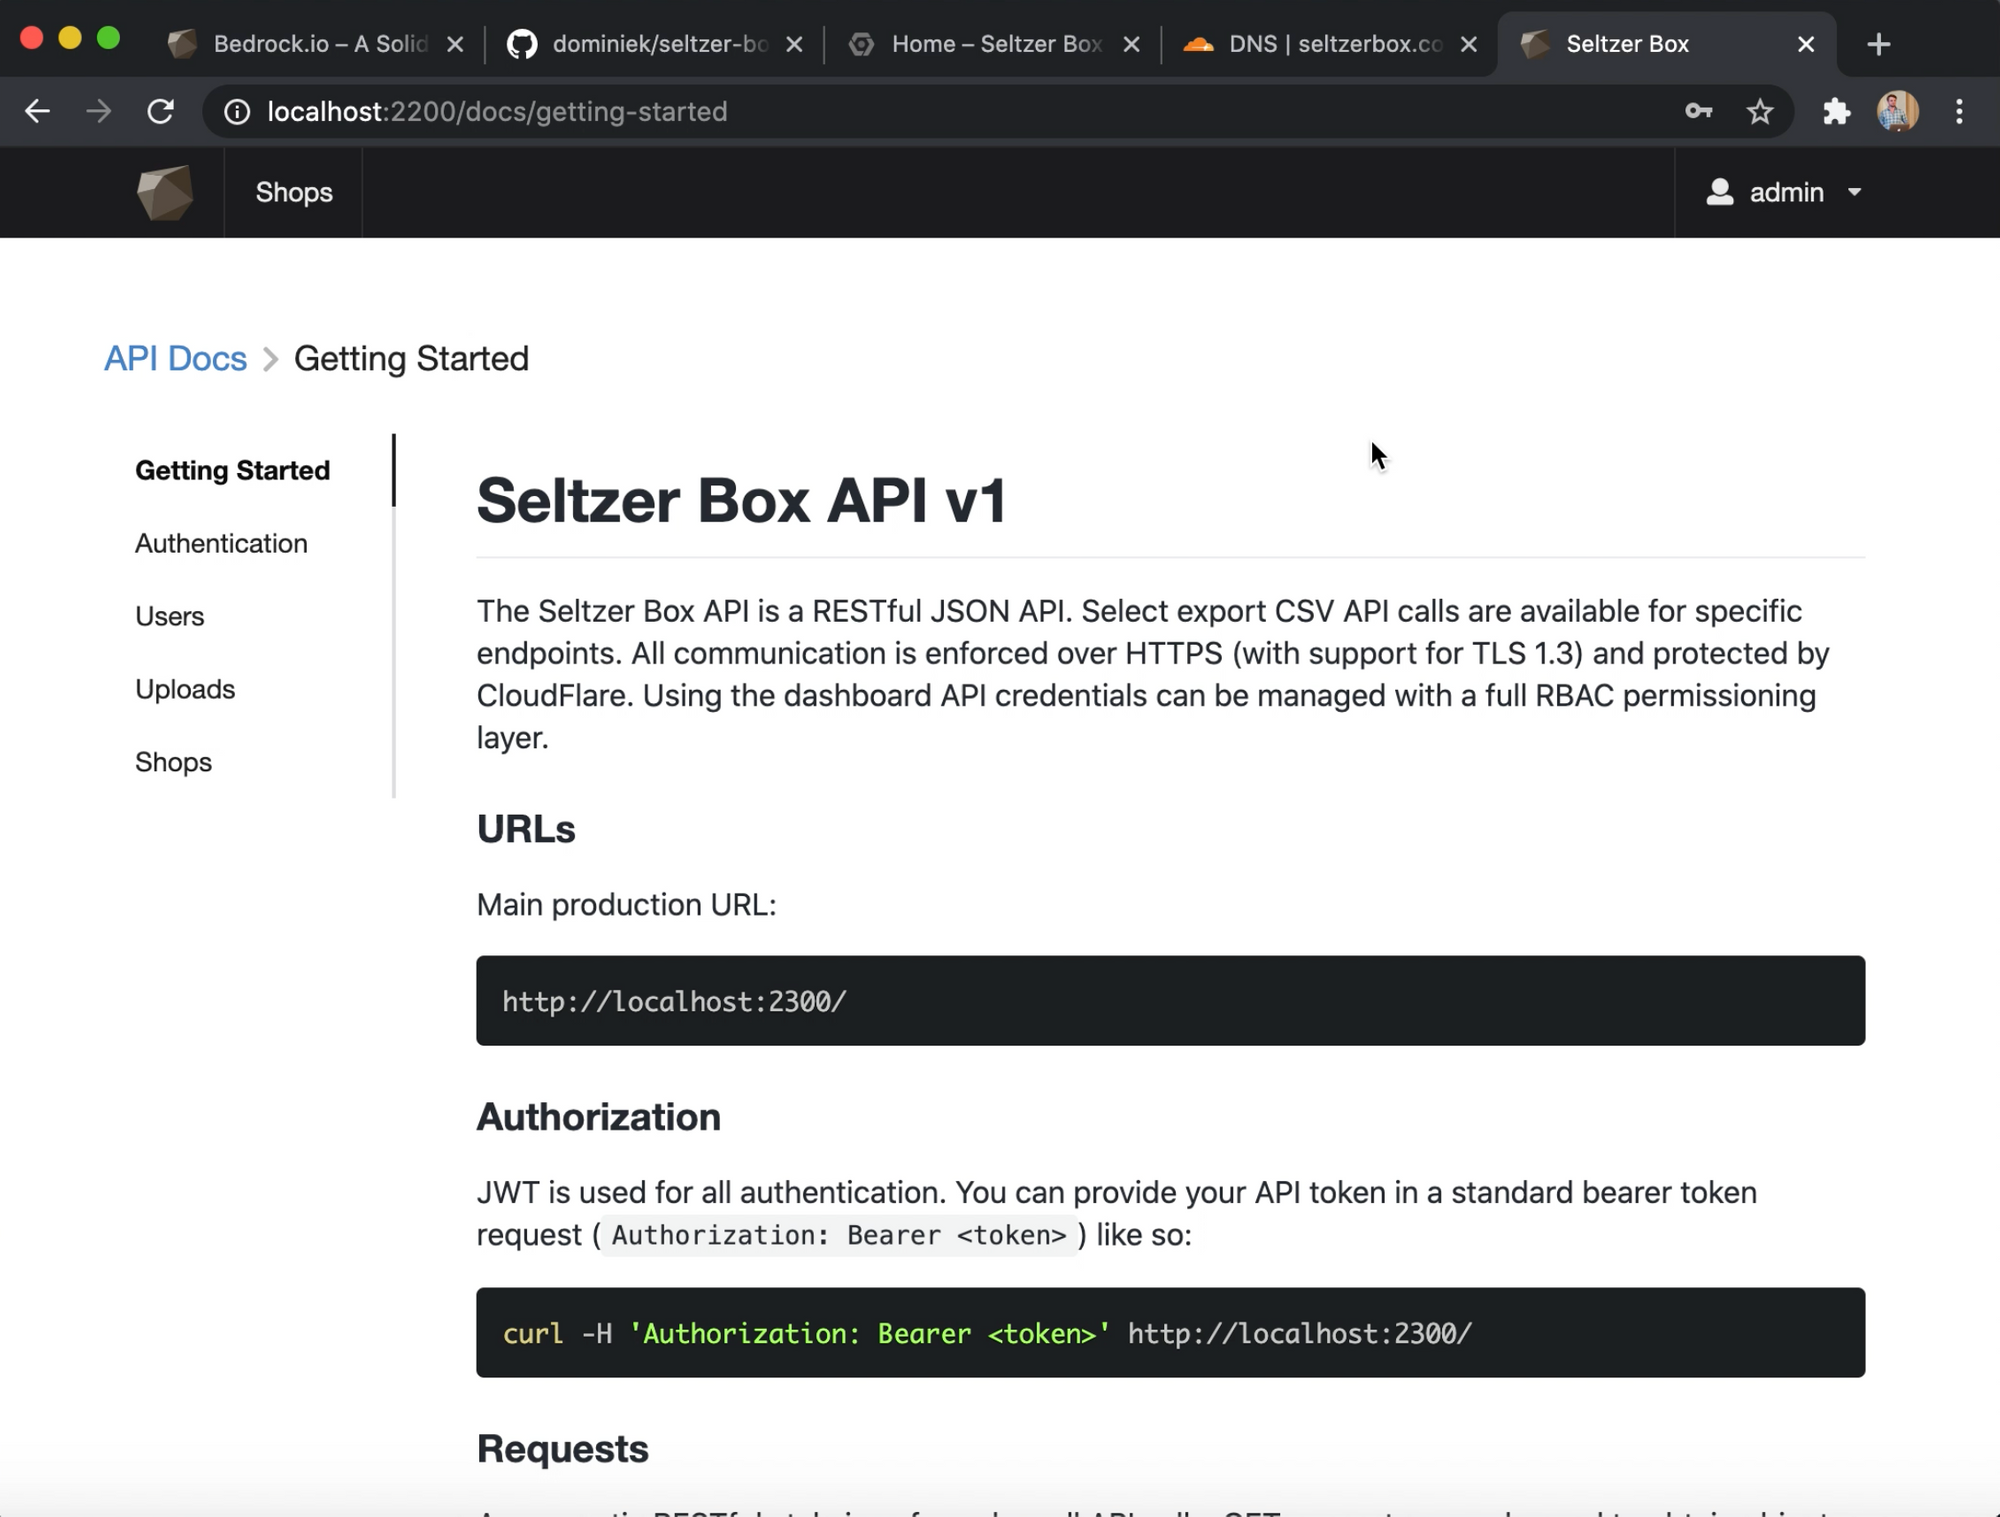
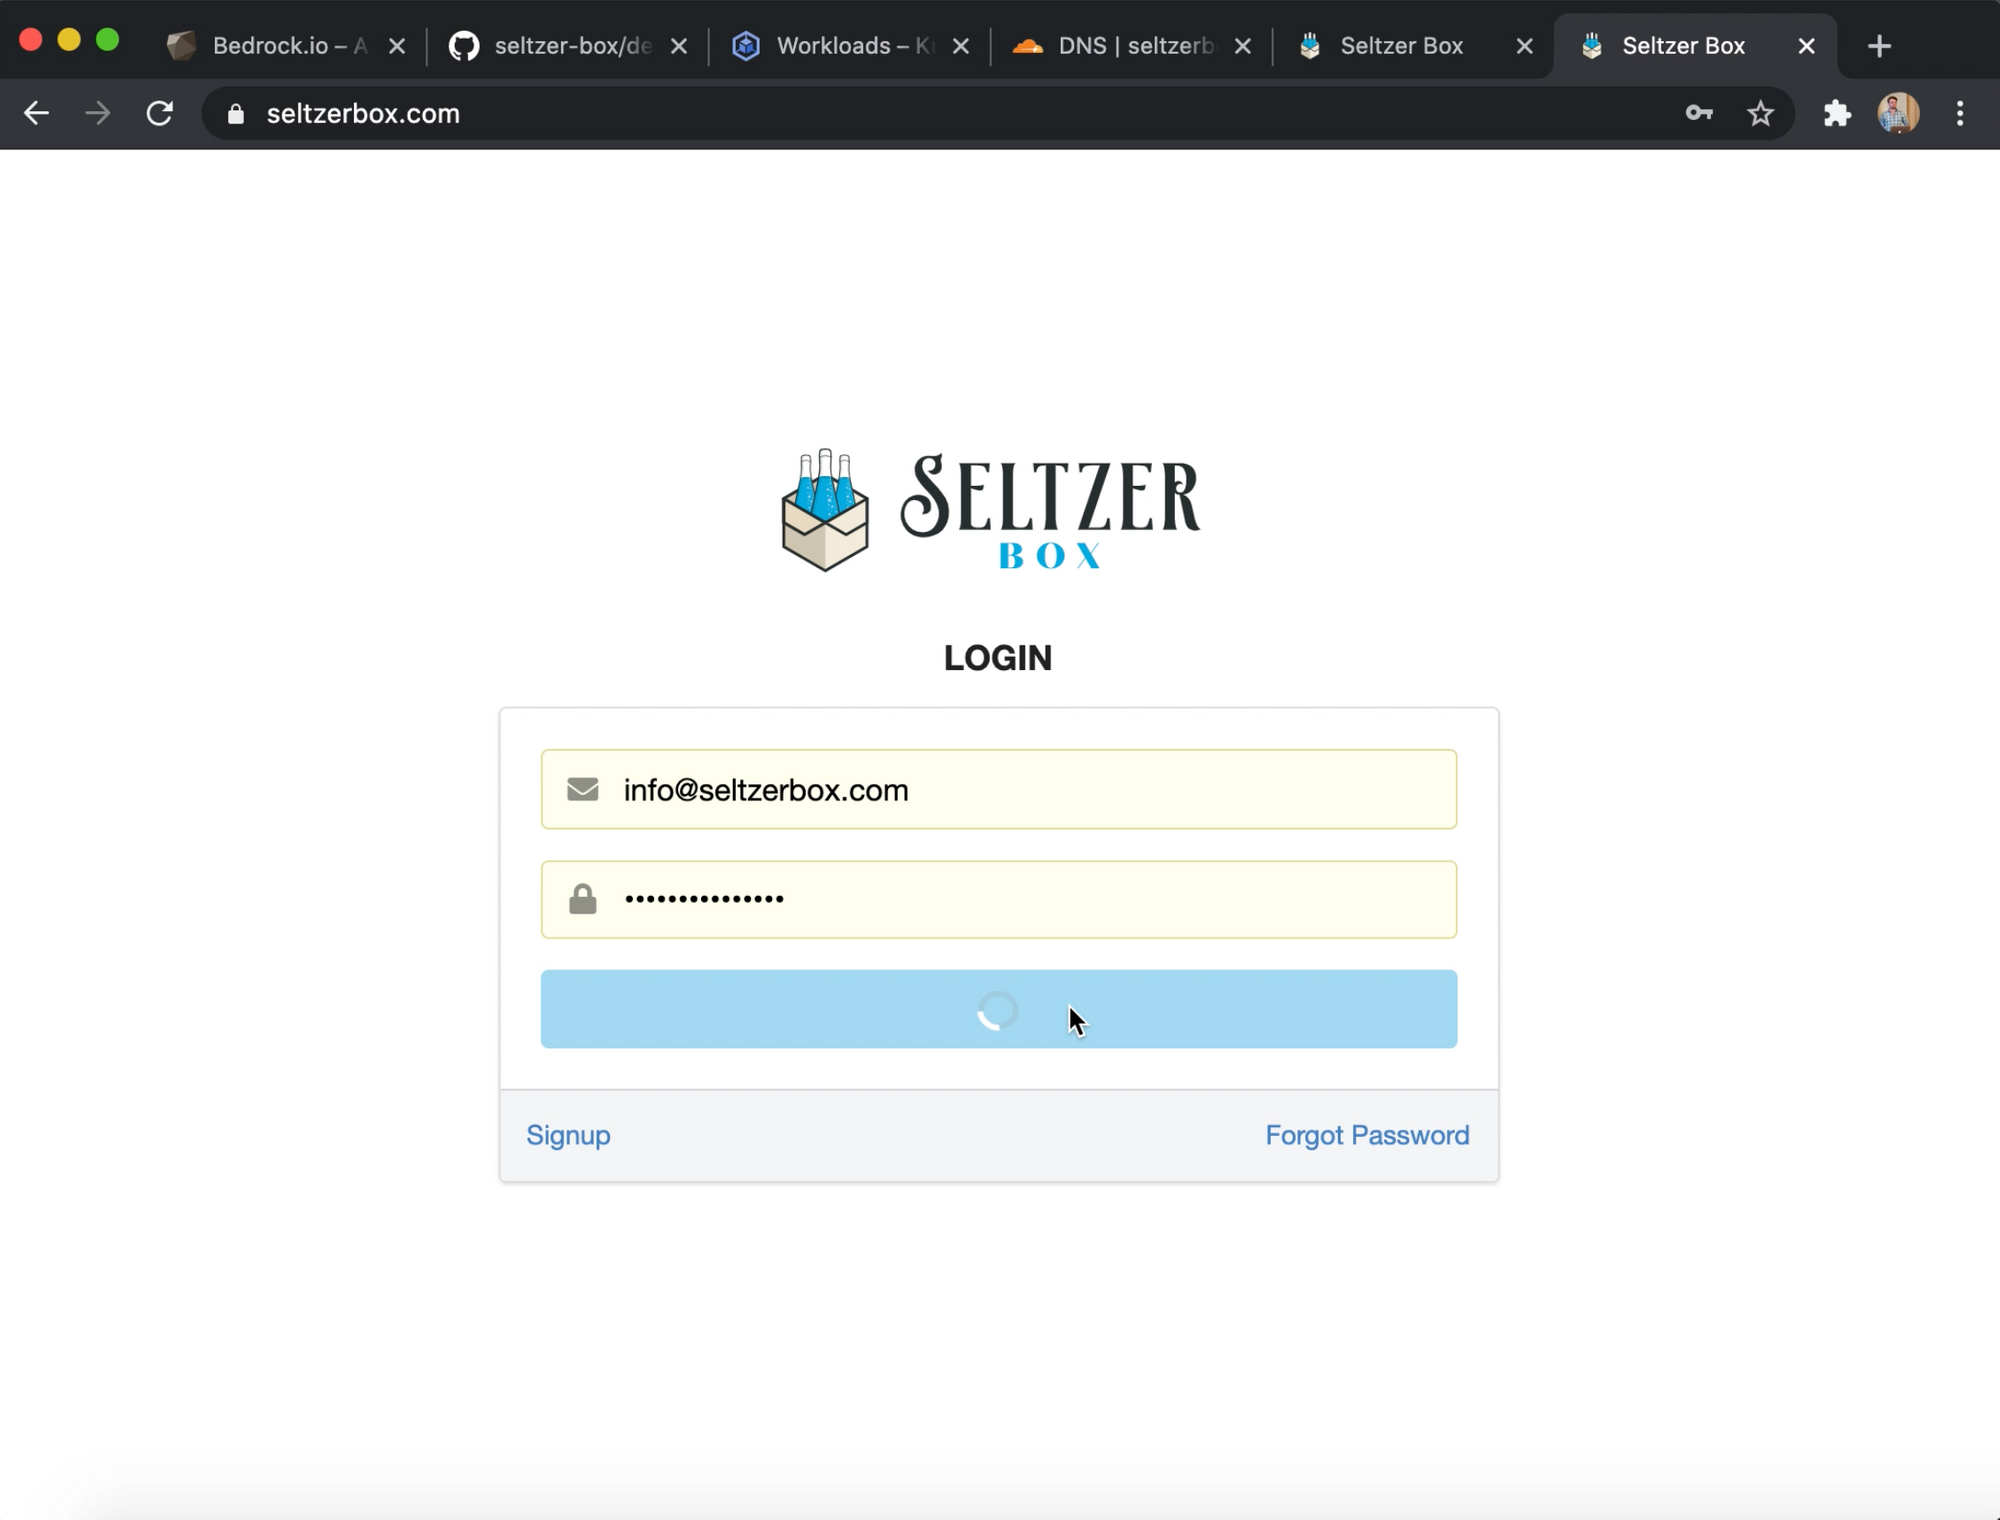
You can now log into your dashboard where you will see the following:
- Example models - Shops & Products - with full Create, Read, Update & Delete (CRUD) functionality.
- User management UI
- User authentication flows (forgot password, login, logout, etc.)
- API Portal - Curation-friendly powered by Github Markdown and OpenAPI
Changing the UI
The code for the SPA is located in services/web and uses React, React Router and Semantic UI. The components communicate directly with the JSON API with simple utility functions - no complicated middleware.
Directory structure:
src/index.html- The server-side HTML that's used to load the assets and app. Used by Webpack to inject headers.src/App.js- The React Router that drives all SPA routing.src/screens- Every major screen (e.g. Products, Shops) that have routes to them.src/components- Various helper components that can be used on top of Semantic UI.src/utils- Various utility functions.src/assets- Media files. Thesrc/assets/icon.svgwill automatically get converted to all the needed Favicon formats by Webpack.
By default, the app uses React Semantic UI which provides theming capabilities on a large repository of components. Things such as fonts, primary colors, etc. can be easily edited by changing the theme configuration.
The src/screens components follow the information architecture set by the React Router ( src/App.js). So the CRUD UI for Shop/Products can be found in the following files:
src/screens/Shop/Products.js- A table view that lists products for a given Shop.src/modals/EditProduct.js- A Modal view that is used to Create or Update the Product object.
These routes interact with the API in a standard rest structure PATCH /1/products/:id and POST /1/products.
For a full overview please see the documentation in services/web/README.md.
Changing the API
The code for the JSON API that's used by the UI can be found in services/api and has the following directory structure:
src/lib/utils- Various helper functionssrc/lib/__tests__- Library level unit tests (Jest)src/models- Mongoose ORM modelssrc/v1- Koa route files with Joi validatorssrc/v1/__openapi__- OpenAPI documentation for each APIsrc/v1/__tests__- API routes testssrc/app.js- Main entry point into the API
So making changes to the example Product model would typically involve changing the following files:
src/models/product.js- The modelsrc/v1/products.js- The KOA Router with validatorssrc/v1/__tests__/products.js- The unit test for the API routessrc/v1/__openapi__/products.json- The API documentation for that route.
Deploying your Changes
Once you've made changes to any of the services, you can deploy the API using a single command:
bedrock cloud deploy staging api
bedrock cloud deploy staging web
This will build a new Docker container, push it and perform a rolling update of the new image.
Note: All the steps in this article are also shown in this 15 minute video that shows some example changes to the UI and the API.
Stay Tuned
This is the first in a series of posts that elaborate on Bedrock.io. We are adding a lot more automation and tools to further reduce development friction and enhance platform capabilities.
In the mean time, give it a try, hack away, and reach out to us if you'd like to be involved!